
As Easter was creeping closer, I found myself needing a (somewhat) cheap project for kids. So what’s better than an old-fashioned Easter egg hunt?
I followed this guide, but changed it up a bit, since I didn’t really like the original shape of the eggs. They came out too long and streched out for my liking, but it might have just been the yarn.
Making the eggs
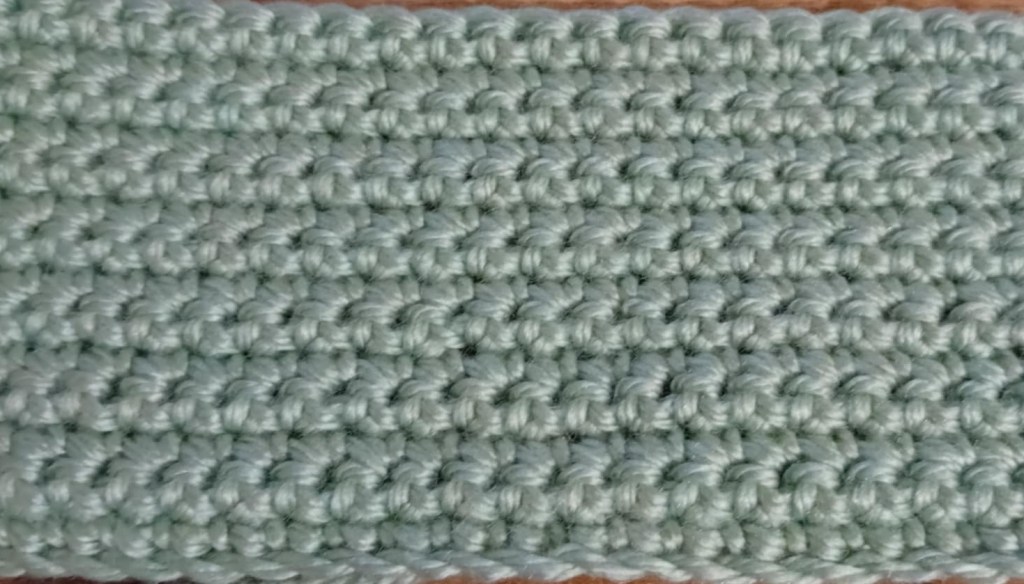
Like for most of my recent projects, I used fluffy yarn along with a 4mm hook to keep it nice and tight.
The project itself is fairly straight-forward. Starting with a magic ring, 6 sincle crochets, double them for the second row (12), the third row was just single crochets (still 12 stitches). The fourth row followed the 1-2 route (18 stitches) and the fifth one was 18 stitches again. The sixth row increased the stitches following the 1-1-2 pattern and then it was just a few rows of single crochets until it was time to decrease. (1-1-dec for the first one, 1-dec for the second and six decreases for the last row).
My customizations
Like I said, I wasn’t the biggest fan of the original shape, so at first, I just skipped a row or two of the single crochet rows.
And after making 20 or so eggs I got bored and started playing with the size. Now this made the project go much faster.
So what did I do? I just skipped the 1-1-2 increases and decreases. After a while it just started eyeballing the rows, I didn’t even use the stitch markers to mark down the last row of increases.
Final thoughts
Is making dozens of eggs a good idea? Maybe, maybe not. But the kids loved them and that’s all that matters.
I ended up making over 40 eggs. In hindsight, the number could’ve been smaller, but oh well.


Leave a comment